Documentation Index
Fetch the complete documentation index at: https://elizalabs-add-database-migration-guide.mintlify.app/llms.txt
Use this file to discover all available pages before exploring further.
Deployment Options
Below we’ll cover the two of the most popular approaches to deploying your elizaOS project:Quick Comparison
For Advanced Users: If you’re experienced with server administration and networking, you can deploy elizaOS like any Node.js application using your preferred infrastructure setup. The sections below are for developers looking for guided deployment paths.
Option 1: Managed Cloud
The easiest deployment method, best for rapid prototyping. These platforms handle all of the complicated stuff automatically. This is a good option if you:- are a beginner,
- don’t know how to use Docker/VPS services (and don’t want to learn)
- aren’t expecting a huge amount of traffic,
- have a relatively simple agent, or
- are price insensitive
Cost Reality Check: A simple agent might cost ~$20 dollars per month, but as you scale up, the costs can quickly balloon. For this reason, it’s smart to set spending threshholds and closely monitor resource usage.
Pros & Cons
| ✅ Pros | ❌ Cons |
|---|---|
| Zero server management - No Linux, Docker, or infrastructure knowledge needed | Variable costs - Pricing based on usage (CPU, RAM, bandwidth, requests) |
| Deploy in minutes - Push to GitHub, connect your repo, and you’re live | Can get expensive - Heavy traffic or processing can push bills really high |
| Automatic everything - SSL certificates, scaling, updates, backups | Less control - Limited customization of infrastructure |
| Great developer experience - Built-in logs, metrics, rollbacks | Vendor lock-in - Harder to migrate to other platforms |
| Free tiers - Most platforms offer generous free plans to start | Resource limits - May not handle very high-performance requirements |
Railway (Recommended)
Railway website | Railway docs Railway is a solid, preferred option. They offer a free Trial plan with $5 of credits which is more than enough to test out. It also re-deploys everytime you push a change to Github, which is convenient. Here’s the steps from project creation => deployment:Push to GitHub repo
Create a GitHub repository and push your code. Choose one approach:Option A: Public Repository (Recommended)
- Create a PUBLIC GitHub repository
- Keep
.envin your.gitignore(stays secure) - You’ll add environment variables in Railway dashboard (Step 5)
- Create a PRIVATE GitHub repository
- Remove
.envfrom your.gitignore - Commit your
.envfile (secure since repo is private) - ✅ Skip Step 5 - Railway will use your committed .env file
Both approaches work well. Public repos are more common for open-source projects, while private repos let you skip the environment variables step.
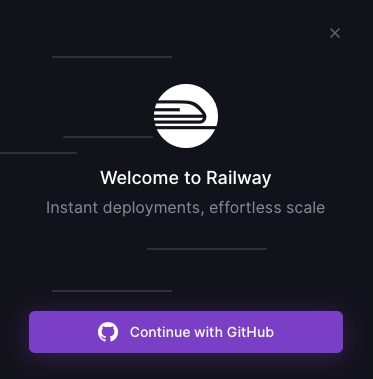
Sign up for Railway
- Go to railway.com
- Click “Sign in” and sign up with your GitHub account
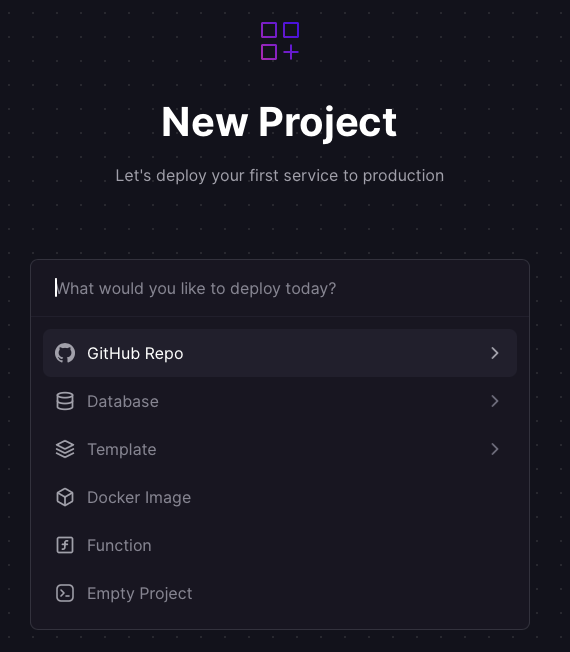
Deploy new project
- Click “Deploy New Project”
- Select “GitHub Repo”
- Select your project’s GitHub repository from the list
Add environment variables
Skip this step if you used Option B (Private Repository) - your .env file is already committed!For Option A (Public Repository), add your environment variables in Railway: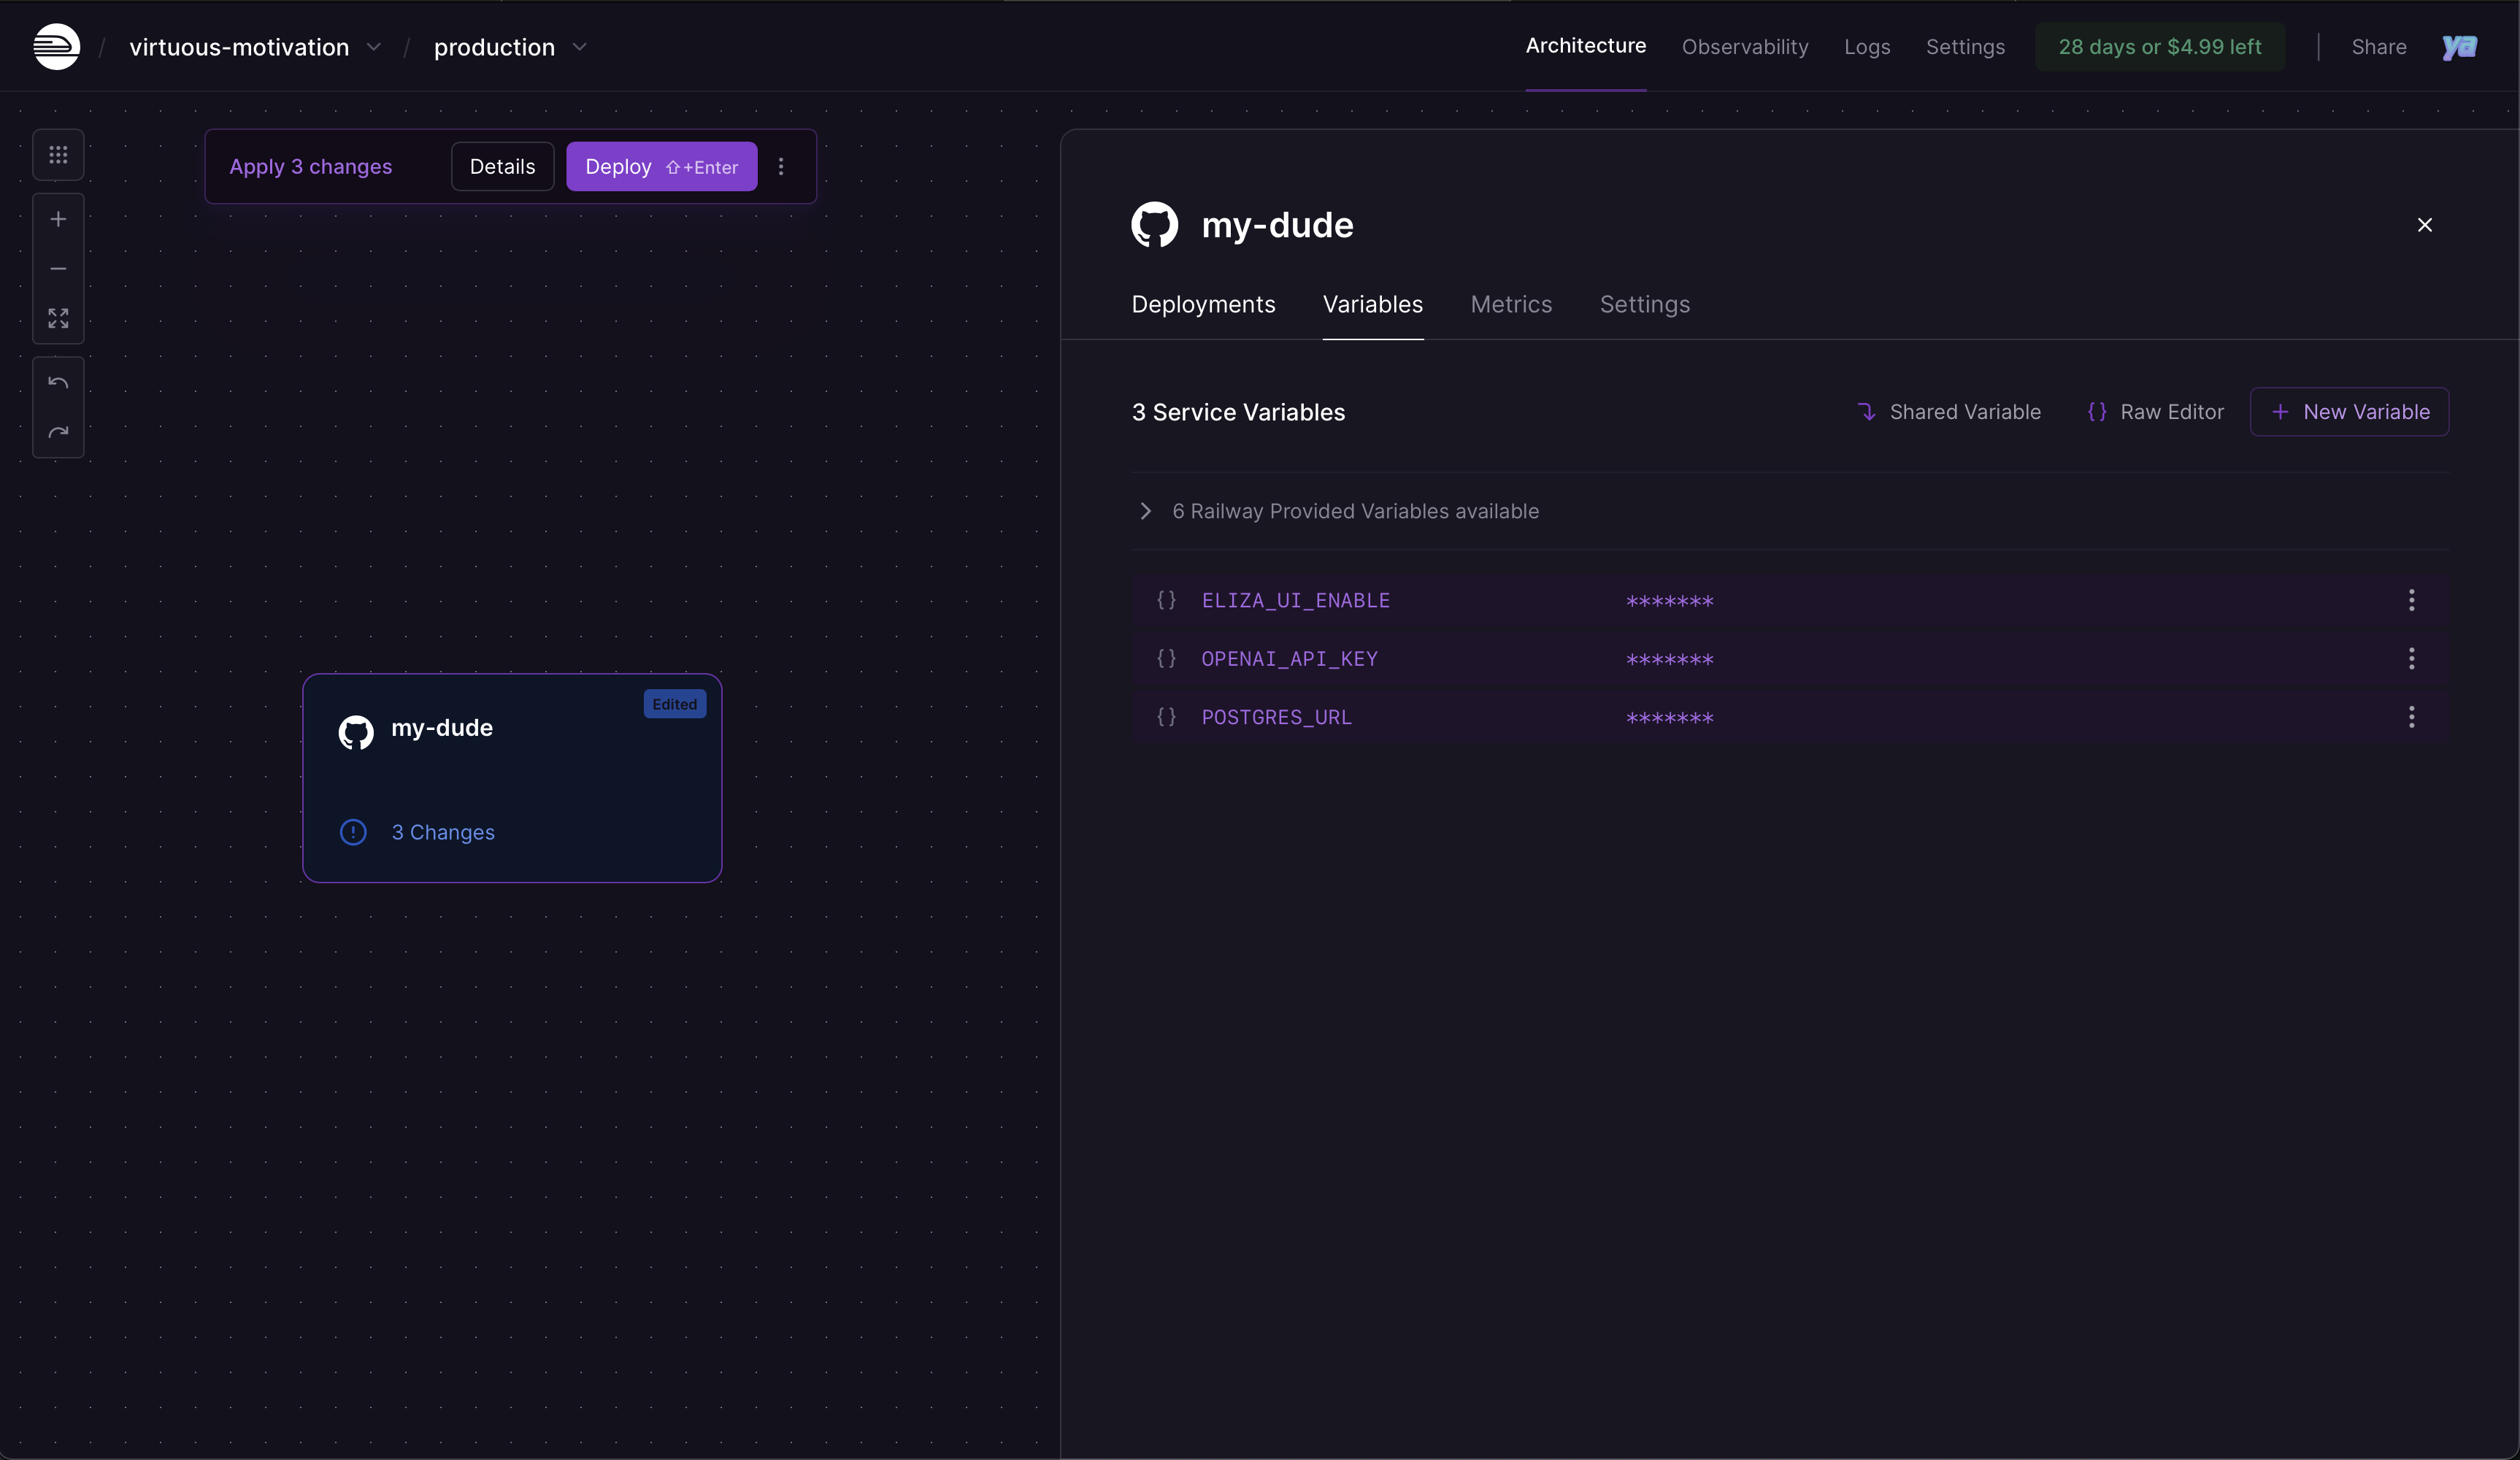
- Click on your service → Variables tab
- Add the variables your project needs:
env
What to add? Check your
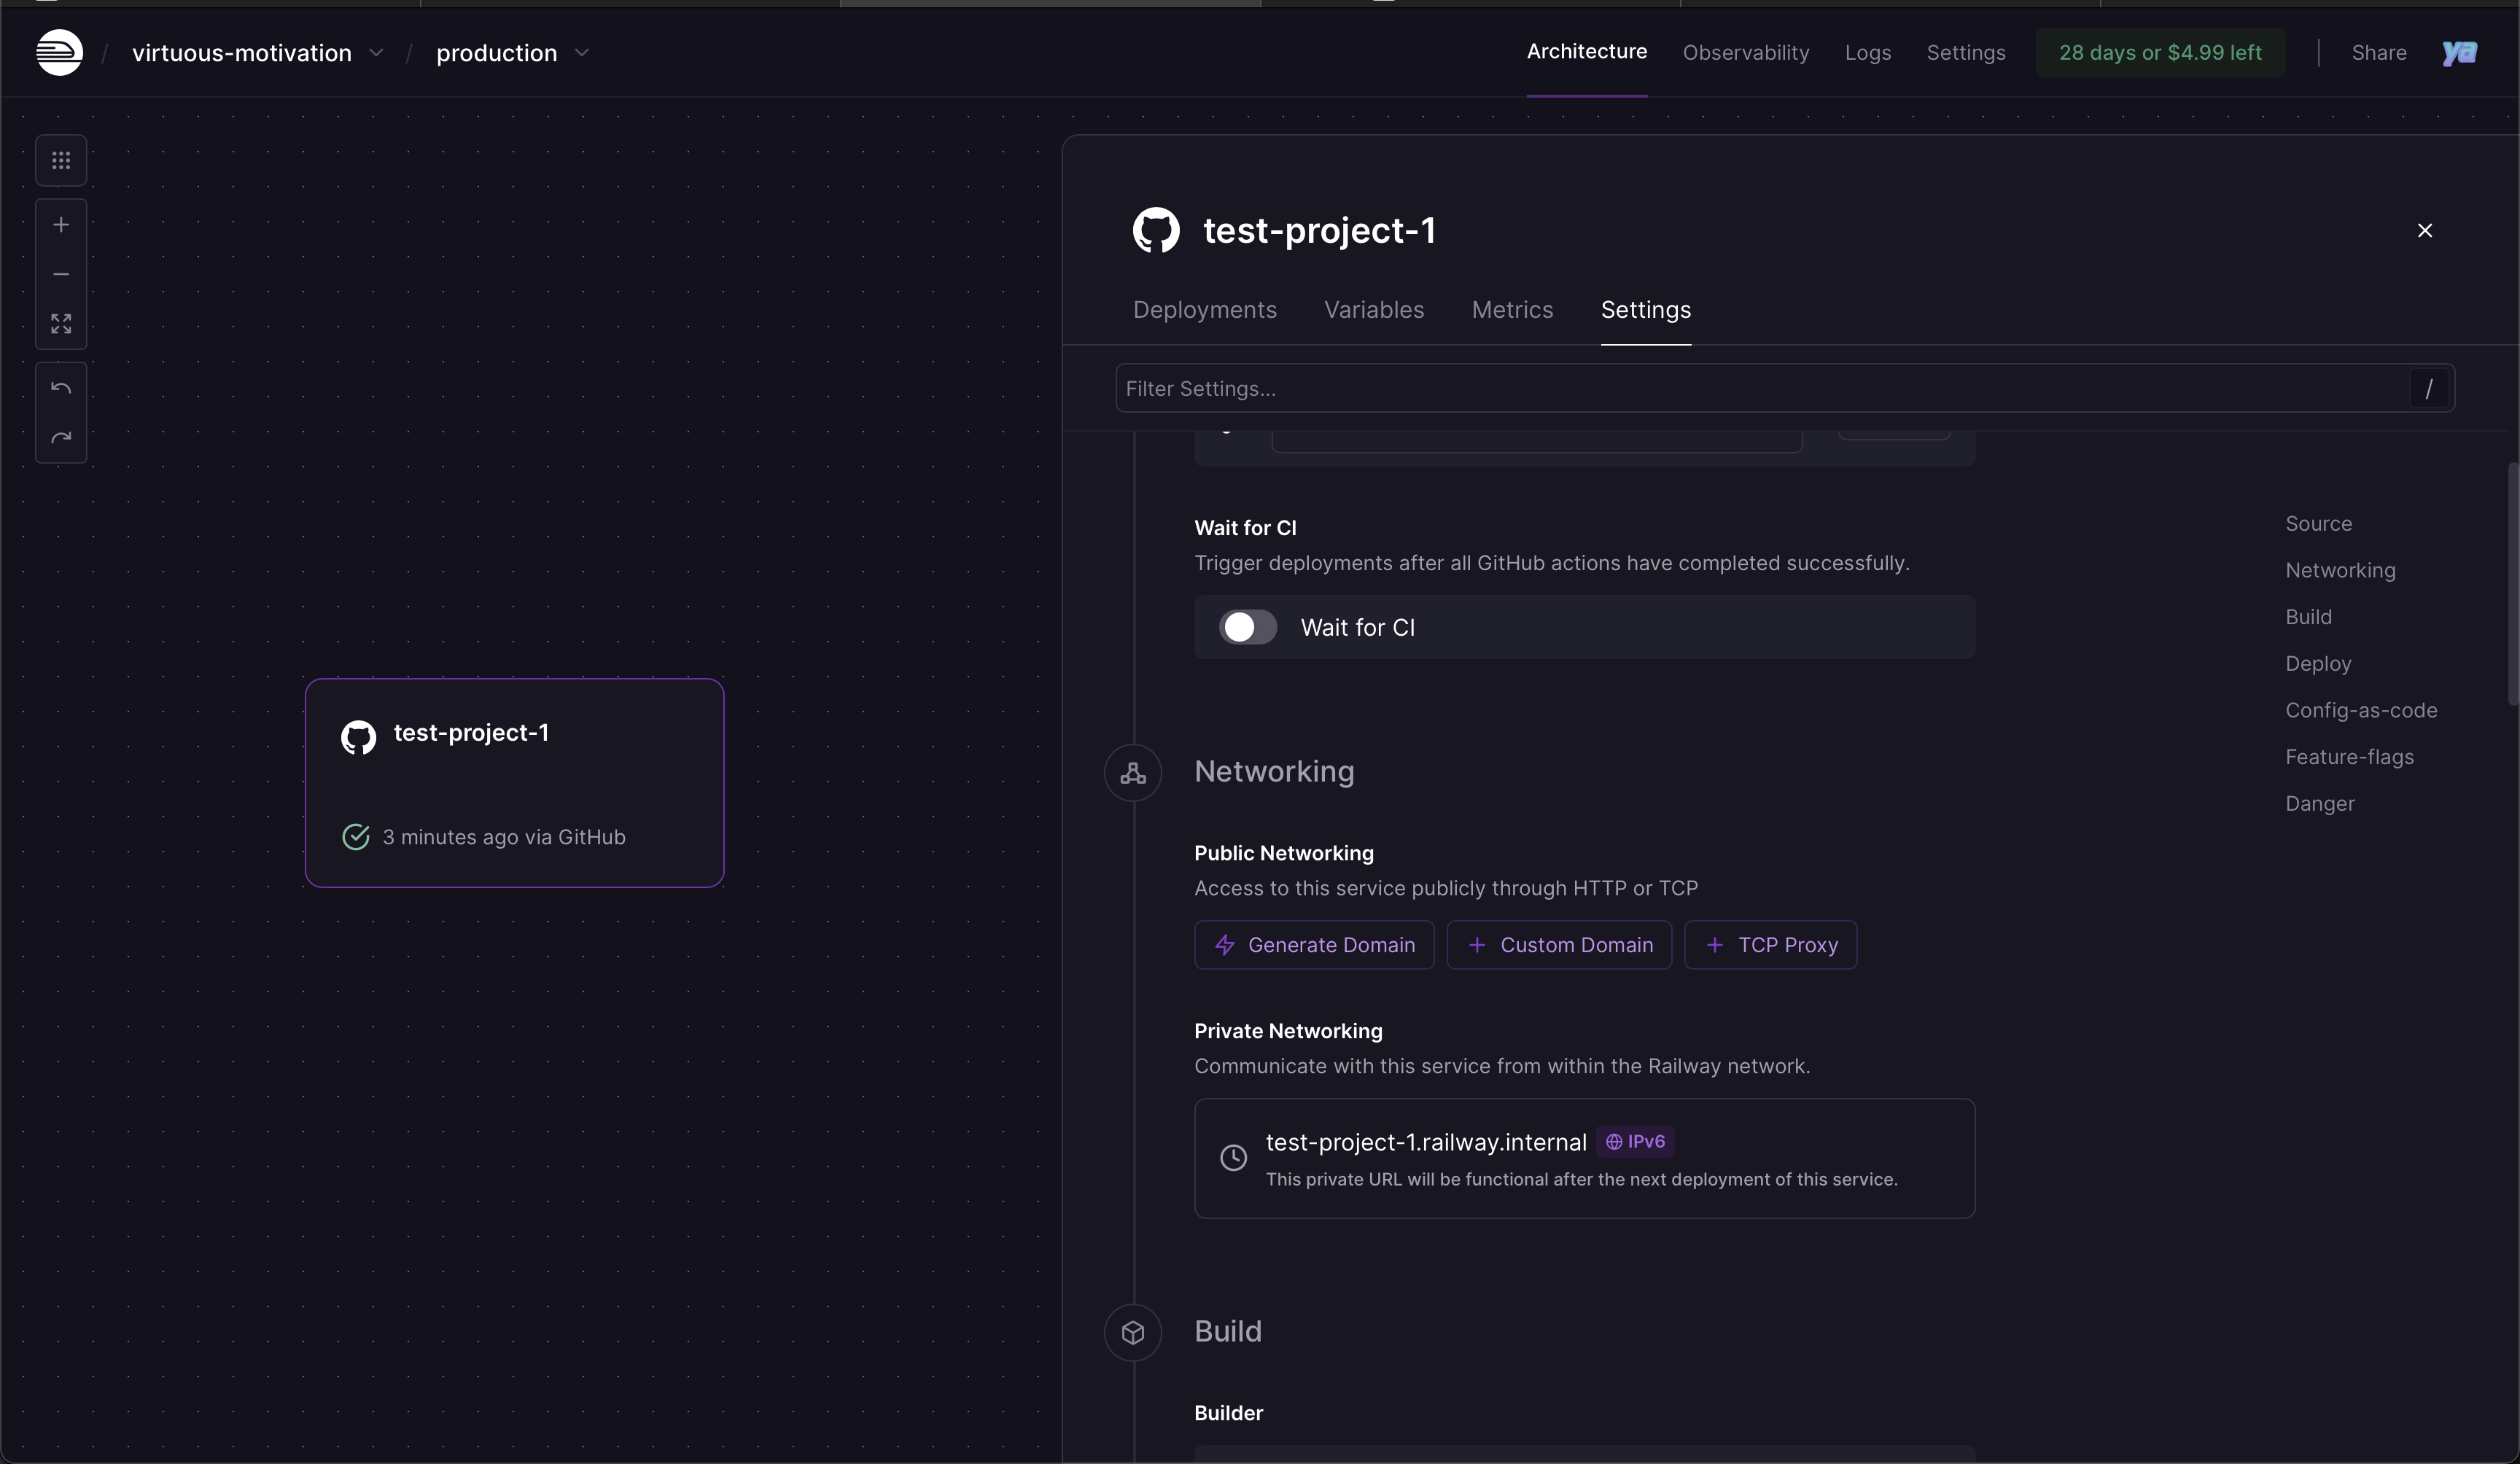
.env file to see which variables your specific project needs. The exact variables depend on your project’s configuration and integrations.Deploy your app
- Once environment variables are set, click “Deploy” to start deployment
- Monitor the deployment logs to ensure everything builds successfully
- Wait for deployment to complete (you’ll see “Build completed” in logs)
Render
Render website | Render docs Render is comparable to Railway, but its Free/Hobby plan is less generous and slower (Render turns your instance off when its not in use). Still it’s a good option.Push to GitHub repo
Create a GitHub repository and push your code. Choose one approach:Option A: Public Repository (Recommended)
- Create a PUBLIC GitHub repository
- Keep
.envin your.gitignore(stays secure) - You’ll add environment variables in Render dashboard (Step 5)
- Create a PRIVATE GitHub repository
- Remove
.envfrom your.gitignore - Commit your
.envfile (secure since repo is private) - ⚠️ Still need Step 5 - Render requires env vars on their side even with private repos
Unlike Railway, Render always requires you to add environment variables on their platform, even if you have a private repo with committed .env file.
Sign up for Render
- Go to render.com
- Create a Render account with your GitHub profile
Select Web Service and connect GitHub
- Click “Web Services” when asked to select a service type
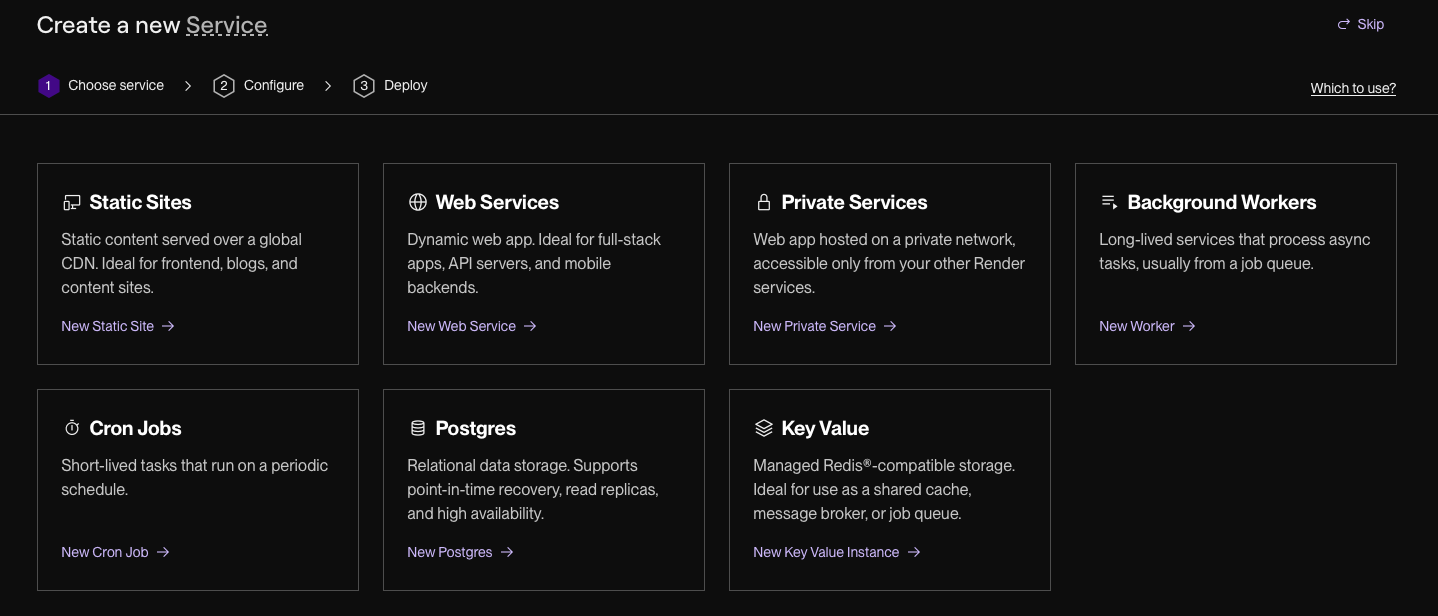
- Select Git Provider → GitHub to give Render access to your repos
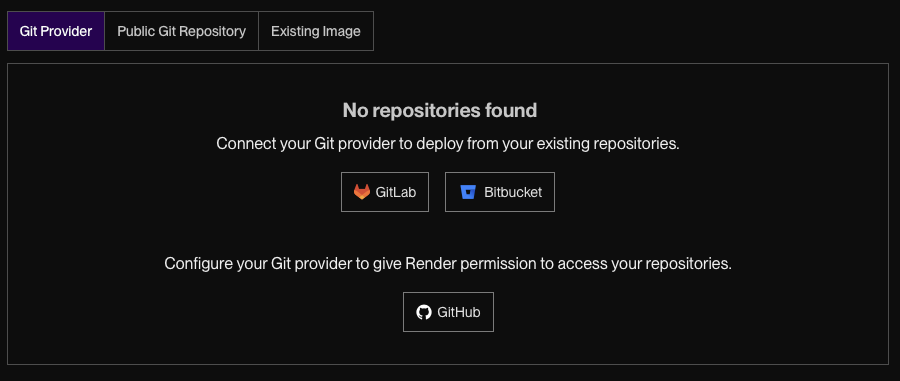
- Select the repository you want to deploy
Configure build settings
Render will ask you about Build and Start commands:
- Build Command:
bun install && bun run build - Start Command:
bun run start - Instance Type: Free (Hobby) - works but slower, or paid for faster performance
Render automatically detects the port, so no port configuration needed!
Add environment variables
Put all your environment variables in here, even if you commited your .env file, you still need to add it on Render-side: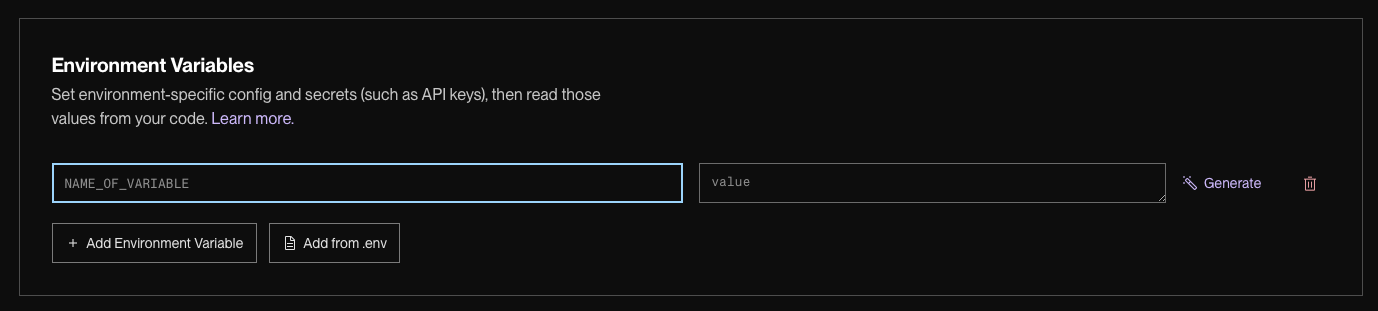
env
What to add? Check your
.env file to see which variables your specific project needs. The exact variables depend on your project’s configuration and integrations.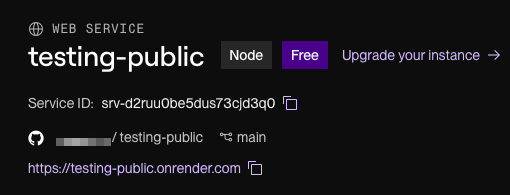
Option 2: Self-Hosted
Deploy on your own Virtual Private Server (VPS) for more control and predictable costs. Different platforms handle the build process differently. Some build from GitHub (like Coolify), others use Docker (like Phala).Pros & Cons
| ✅ Pros | ❌ Cons |
|---|---|
| Lower costs - Fixed monthly VPS cost regardless of traffic | Requires server knowledge - Need basic Linux/Docker skills |
| Complete control - Full access to your infrastructure | More setup time - Initial configuration takes longer |
| Better security - Your data never leaves your servers | You handle maintenance - Updates, backups, monitoring are your responsibility |
| Predictable pricing - No surprise bills from traffic spikes | Downtime risk - If your server goes down, you fix it |
| Performance control - Choose exact CPU/RAM specifications | Learning curve - Need to understand Docker, networking basics |
Phala Network (Recommended)
Phala website | Phala docs | Video Tutorial Phala offers secure deployment with excellent elizaOS integration and a good CLI. Perfect for production agents requiring a good mix of cost-effective and good security.Create your project
Terminal
Both regular projects and TEE projects include Docker files. Use regular projects unless you specifically need TEE security features.
Setup accounts and authentication
- Create Phala account at dashboard.phala.network
- Add a credit card (small amounts for testing)
- Create API token in dashboard → API Tokens
- Authenticate:
Terminal
Configure environment variables
Set up your production
.env file with the variables your project needs:.env
What to add? Check your
.env file to see which variables your specific project needs. We recommend neon.tech for easy PostgreSQL setup.Build and push Docker image
Terminal
.env:.env
Deploy to Phala Cloud
Terminal
- vCPUs: 2 (sufficient for most agents)
- Memory: 4096 MB (4GB recommended)
- Disk: 40 GB
- TEEPod: Select any online TEE pod
Access your live agent
After running the
cvms create command, you’ll receive an App URL - this is your cloud dashboard where you can monitor everything.To access your agent:- Visit the App URL provided after deployment (your cloud dashboard)
- In the dashboard, click Network → “Endpoint #1”
- This gives you your agent’s public URL
- Test both the web interface and any connected platforms (Discord, Twitter, etc.)
Other Self-Hosted Options
Different approaches for self-hosting: Platform-Assisted (Like Managed Cloud, but bring-your-own VPS):- Coolify - Railway-like UI on your VPS, builds from GitHub automatically
- Install:
curl -fsSL https://cdn.coollabs.io/coolify/install.sh | bashon any VPS
- Use any VPS provider: Hetzner, DigitalOcean, Netcup
- Process: Build Docker image → Push to Docker Hub →
docker runon VPS
- Clone repo directly on VPS, install Node.js/Bun, run with PM2/systemd
- More manual but maximum control
Tons of tutorials available: There are many excellent online tutorials for deploying with Coolify, Hetzner, DigitalOcean, and other providers. Search for “[Provider Name] Docker deployment tutorial” or “[Provider Name] Node.js deployment” for platform-specific guides.
See Also
Create a Plugin
Extend your agent with custom functionality
Add Multiple Agents
Deploy multiple agents working together
Test a Project
Learn comprehensive testing strategies for your agents
Publish a Plugin
Share your custom plugins with the elizaOS community